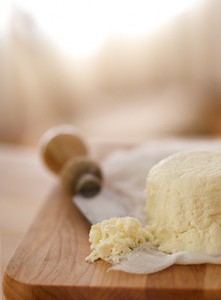
 This Italian cheese is extremely simple to make, and in this post, a step-by-step recipe will take you through the whole process.
This post concludes the three-part post on the Williams-Sonoma, pasta, ravioli, and ricotta cheese demonstration that took place on Aug. 12th.
To view that post > http://ow.ly/6cV5j
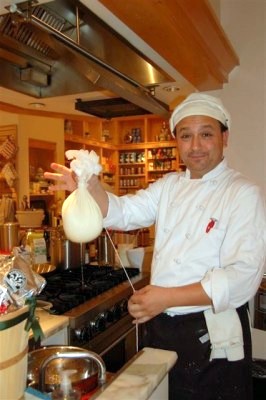
Below is the ricotta recipe that was demonstrated, hung to drain, and then used to demonstrate how to make homemade ricotta ravioli using the KitchenAid and its pasta attachments.
The cheese came out extremely creamy, which enabled us to make some absolutely delicious ravioli. Tossed in a sage and butter sauce and garnished with toasted pine nuts, we made ourselves a real winner.
This is an extremely fun thing to make especially for “Ricotta Cheese Lovers!”
Have fun and enjoy!
Homemade Ricotta Cheese
Ingredients:
- whole milk – 8 cups
- heavy cream – 2 cups
- lemon juice – 6 tablespoons
- salt – 4 teaspoons
- cheesecloth – Cut large enough to line a medium size colander. (several layers)
Procedure:
- Line a colander with the cheesecloth
- Place the colander over a bowl to catch the liquid (whey) while it is draining.
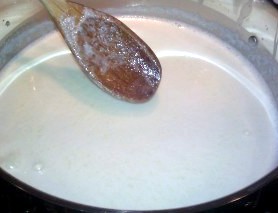
In a large heavy gauge stainless steel pot, add the milk and heavy cream. Heat slowly until the mixture reaches 180 degrees.
Test with a calibrated kitchen thermometer!
“DO NOT BOIL!”
Once 180° is obtained, lower the flame and stir in the lemon juice.
Add the salt, and allow to simmer one minute more.
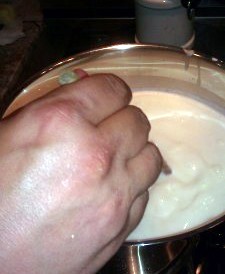
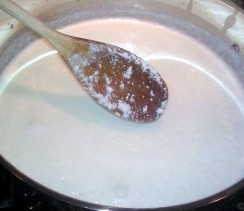
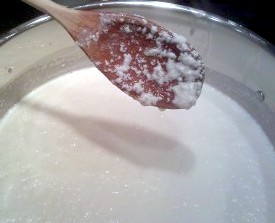
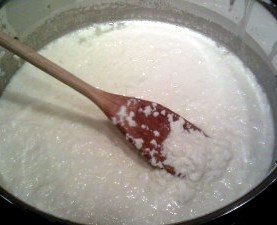
This is a crucial part. The liquid should start to slightly clump together at this stage. If not, leave it on the heat a minute or two longer. It will continue to coagulate even once off the heat, but this step is what begins the cheese-making process, so be patient.
*Note: The more you agitate the mixture, the tougher the curds will become.
This cheese does not need to be constantly mixed. Let it form naturally on its own for a creamy end result.
Making cheese is all about aging and time.
Ricotta is one of the quickest of them all so don’t rush it, the ricotta will be all that much better if agitated as little as possible.
Final cooking stage.
Remove the pot from the heat, and allow it to stand for 20-25 minutes. The curds will begin to really take shape. You will literally start to see the ricotta develop right before your eyes!
Now carefully pour into the cheesecloth-lined colander.
Tie up, being careful as to not let any of the soft cheese seeps out.
Now allow draining.
*Note The longer you allow it to drain the “drier” the ricotta will become. So keep this in mind, to create a cheese that will have the proper consistency for use in other recipes. For this recipe, and for the ricotta ravioli that was made from this cheese, we wanted a creamy texture and definitely not “dry”. The amount of time it should be hung to obtain a creamy workable consistency is approximately 30-40 minutes.
This cheese is extremely versatile, and as we all know, can be used for savory dishes as well as sweet dishes.
Making ricotta cheese from scratch on your own just seems to make it a little more special and much more delicious. Definitely worth the effort!
For some different ways to use your ricotta -> http://ow.ly/6cUgv
See you at the next Williams-Sonoma cooking demonstration!


