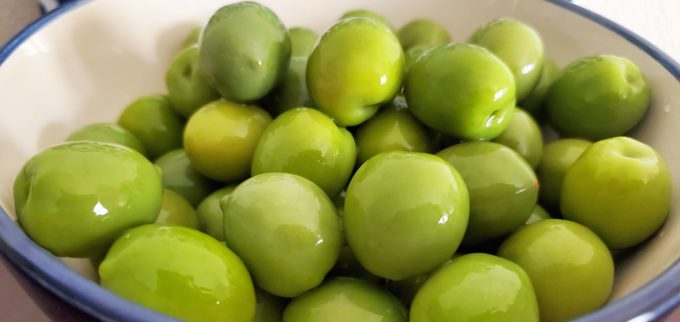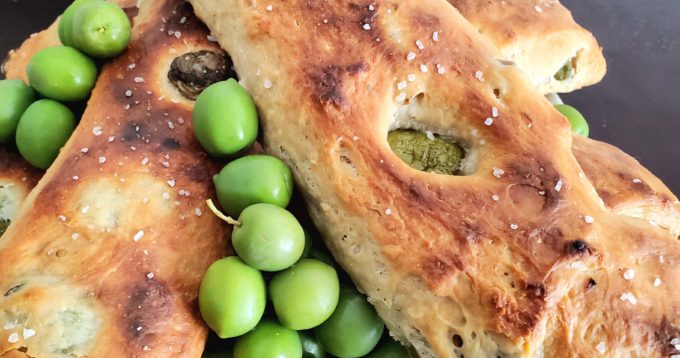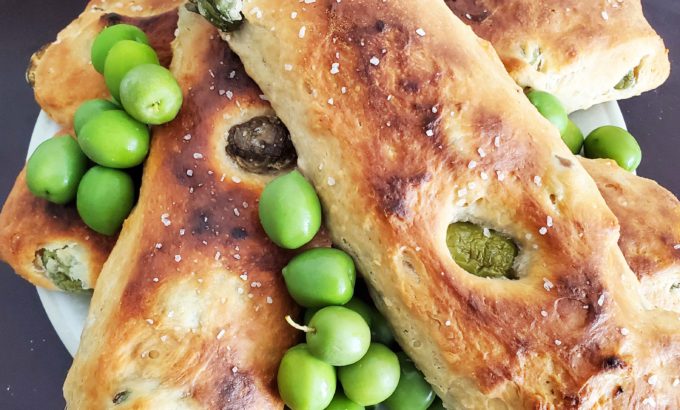
Sicilian Castelvetrano olive bread is absolutely delicious! It’s a great way to showcase these special olives and sharpen up your bread-making skills too. These special olives are famous for their green color, irresistible buttery-sweet flavor, and crisp, meaty texture. They are a very popular olive snack amongst Italians and are truly healthy for you too. Castelvetrano olives are high in healthy fats and vitamin E. Learn more about these special Sicilian green olives and their natural health benefits by clicking here.
This bread recipe is also a fantastic and delicious way to enjoy these olives and all their healthy goodness. As you can see from the image above the loaves of bread are free-formed and rustic in nature. The fact that you don’t have to fuss so much in forming the loaves makes this a perfect recipe for novice and experienced bread bakers. And yes! They truly taste as good as they look. As this bread begins to bake your kitchen will come alive with tantalizing aromas from the olives and bread baking together. It’s just the perfect thing to bake on a chilly autumn day. Now let’s bake some Sicilian Castelvetrano olive bread!
Sicilian Castelvetrano Olive Bread
(makes 4 small loaves)
Ingredients
The poolish (starter) dough
- 4-1/2 cups (550 grams) of all-purpose flour
- 2 cups (450 ml) of warm water
- 1 teaspoon of sugar
- 1/4 teaspoon of instant yeast
Ingredients to make the bread
- 350 grams of Castelvetrano olives, pitted
- 2 cups (250 grams) of all-purpose flour
- 7 grams of instant yeast
- 1-1/4 teaspoon (20 grams) of salt
- 3 tablespoons (40 ml) of Sicilian extra virgin olive oil
- 3 tablespoons Parmesan cheese, finely grated
- Kosher salt or any coarse grain salt for seasoning the loaves.
First, make the dough starter
- In a bowl sift the flour
- Add the sugar and yeast and combine well.
- Now add the warm water and mix until it all comes together.
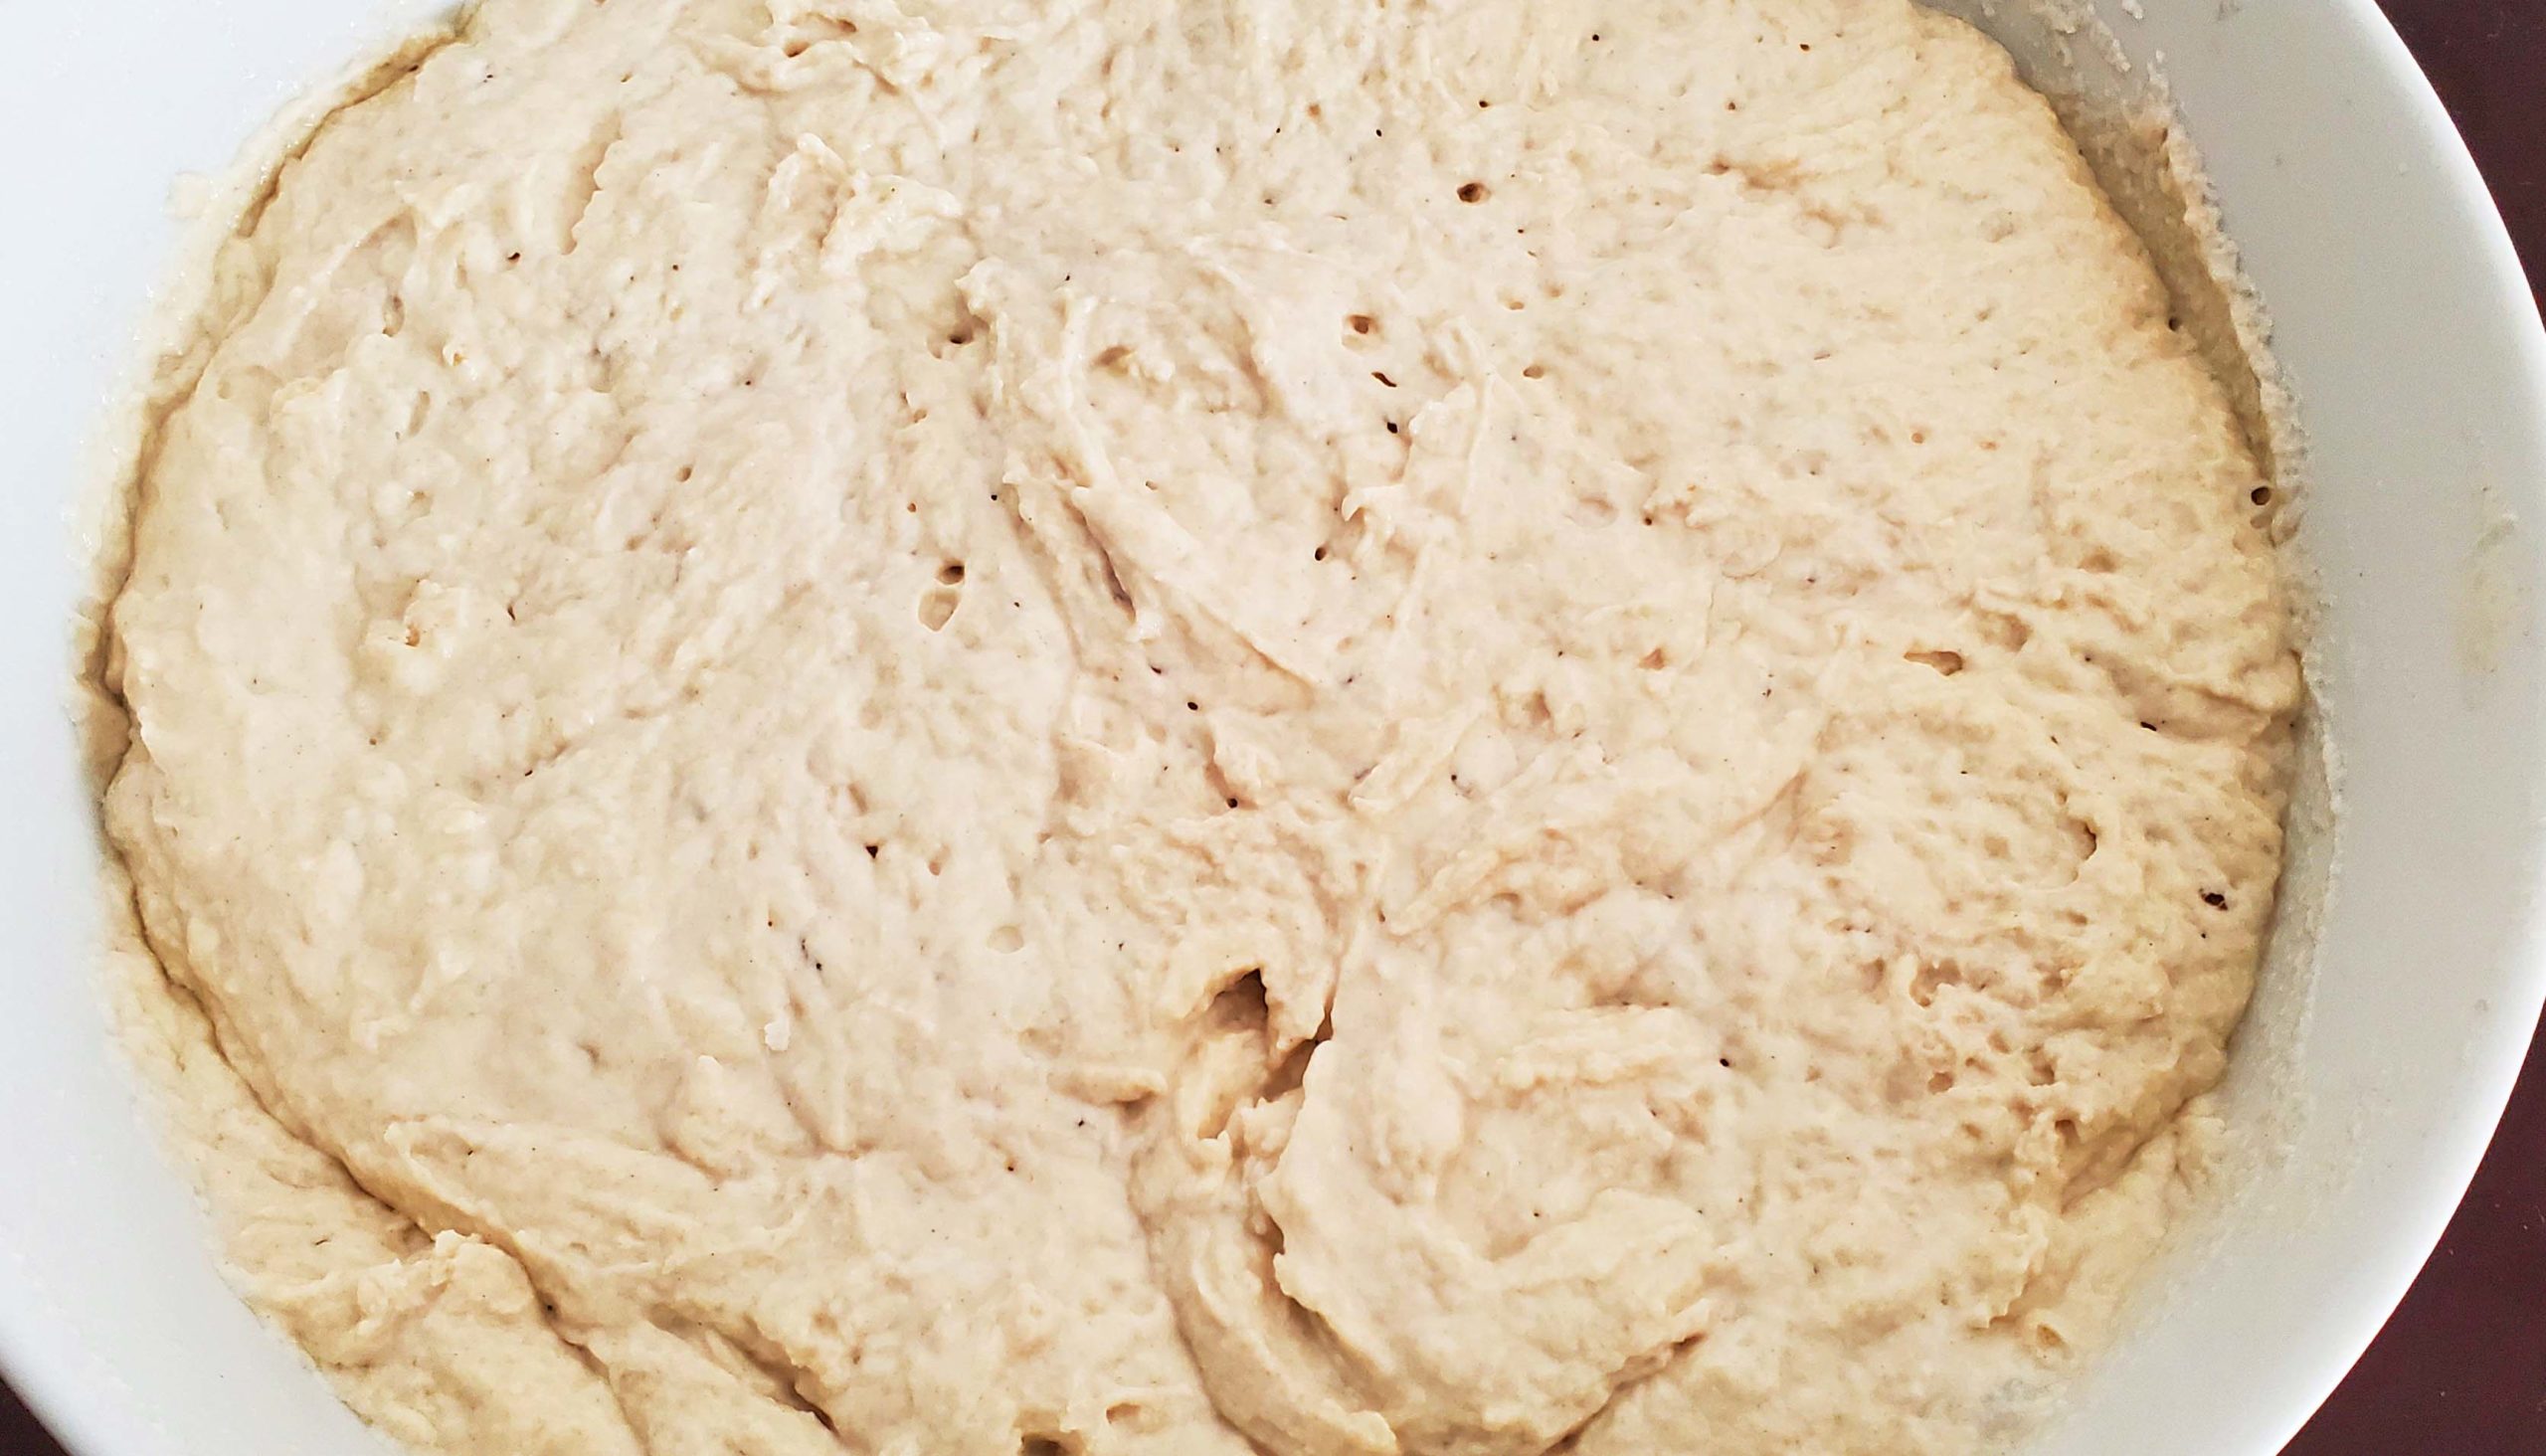
- Cover the bowl with plastic wrap and leave it in the refrigerator overnight. Or, leave it in a draft-free place in your kitchen for 10 hours before using it.
Tip: If using the refrigerator remember to take the bowl out (one hour) to take the chill off the dough before continuing with the recipe.
- The result after overnight in the refrigerator
To make the bread dough
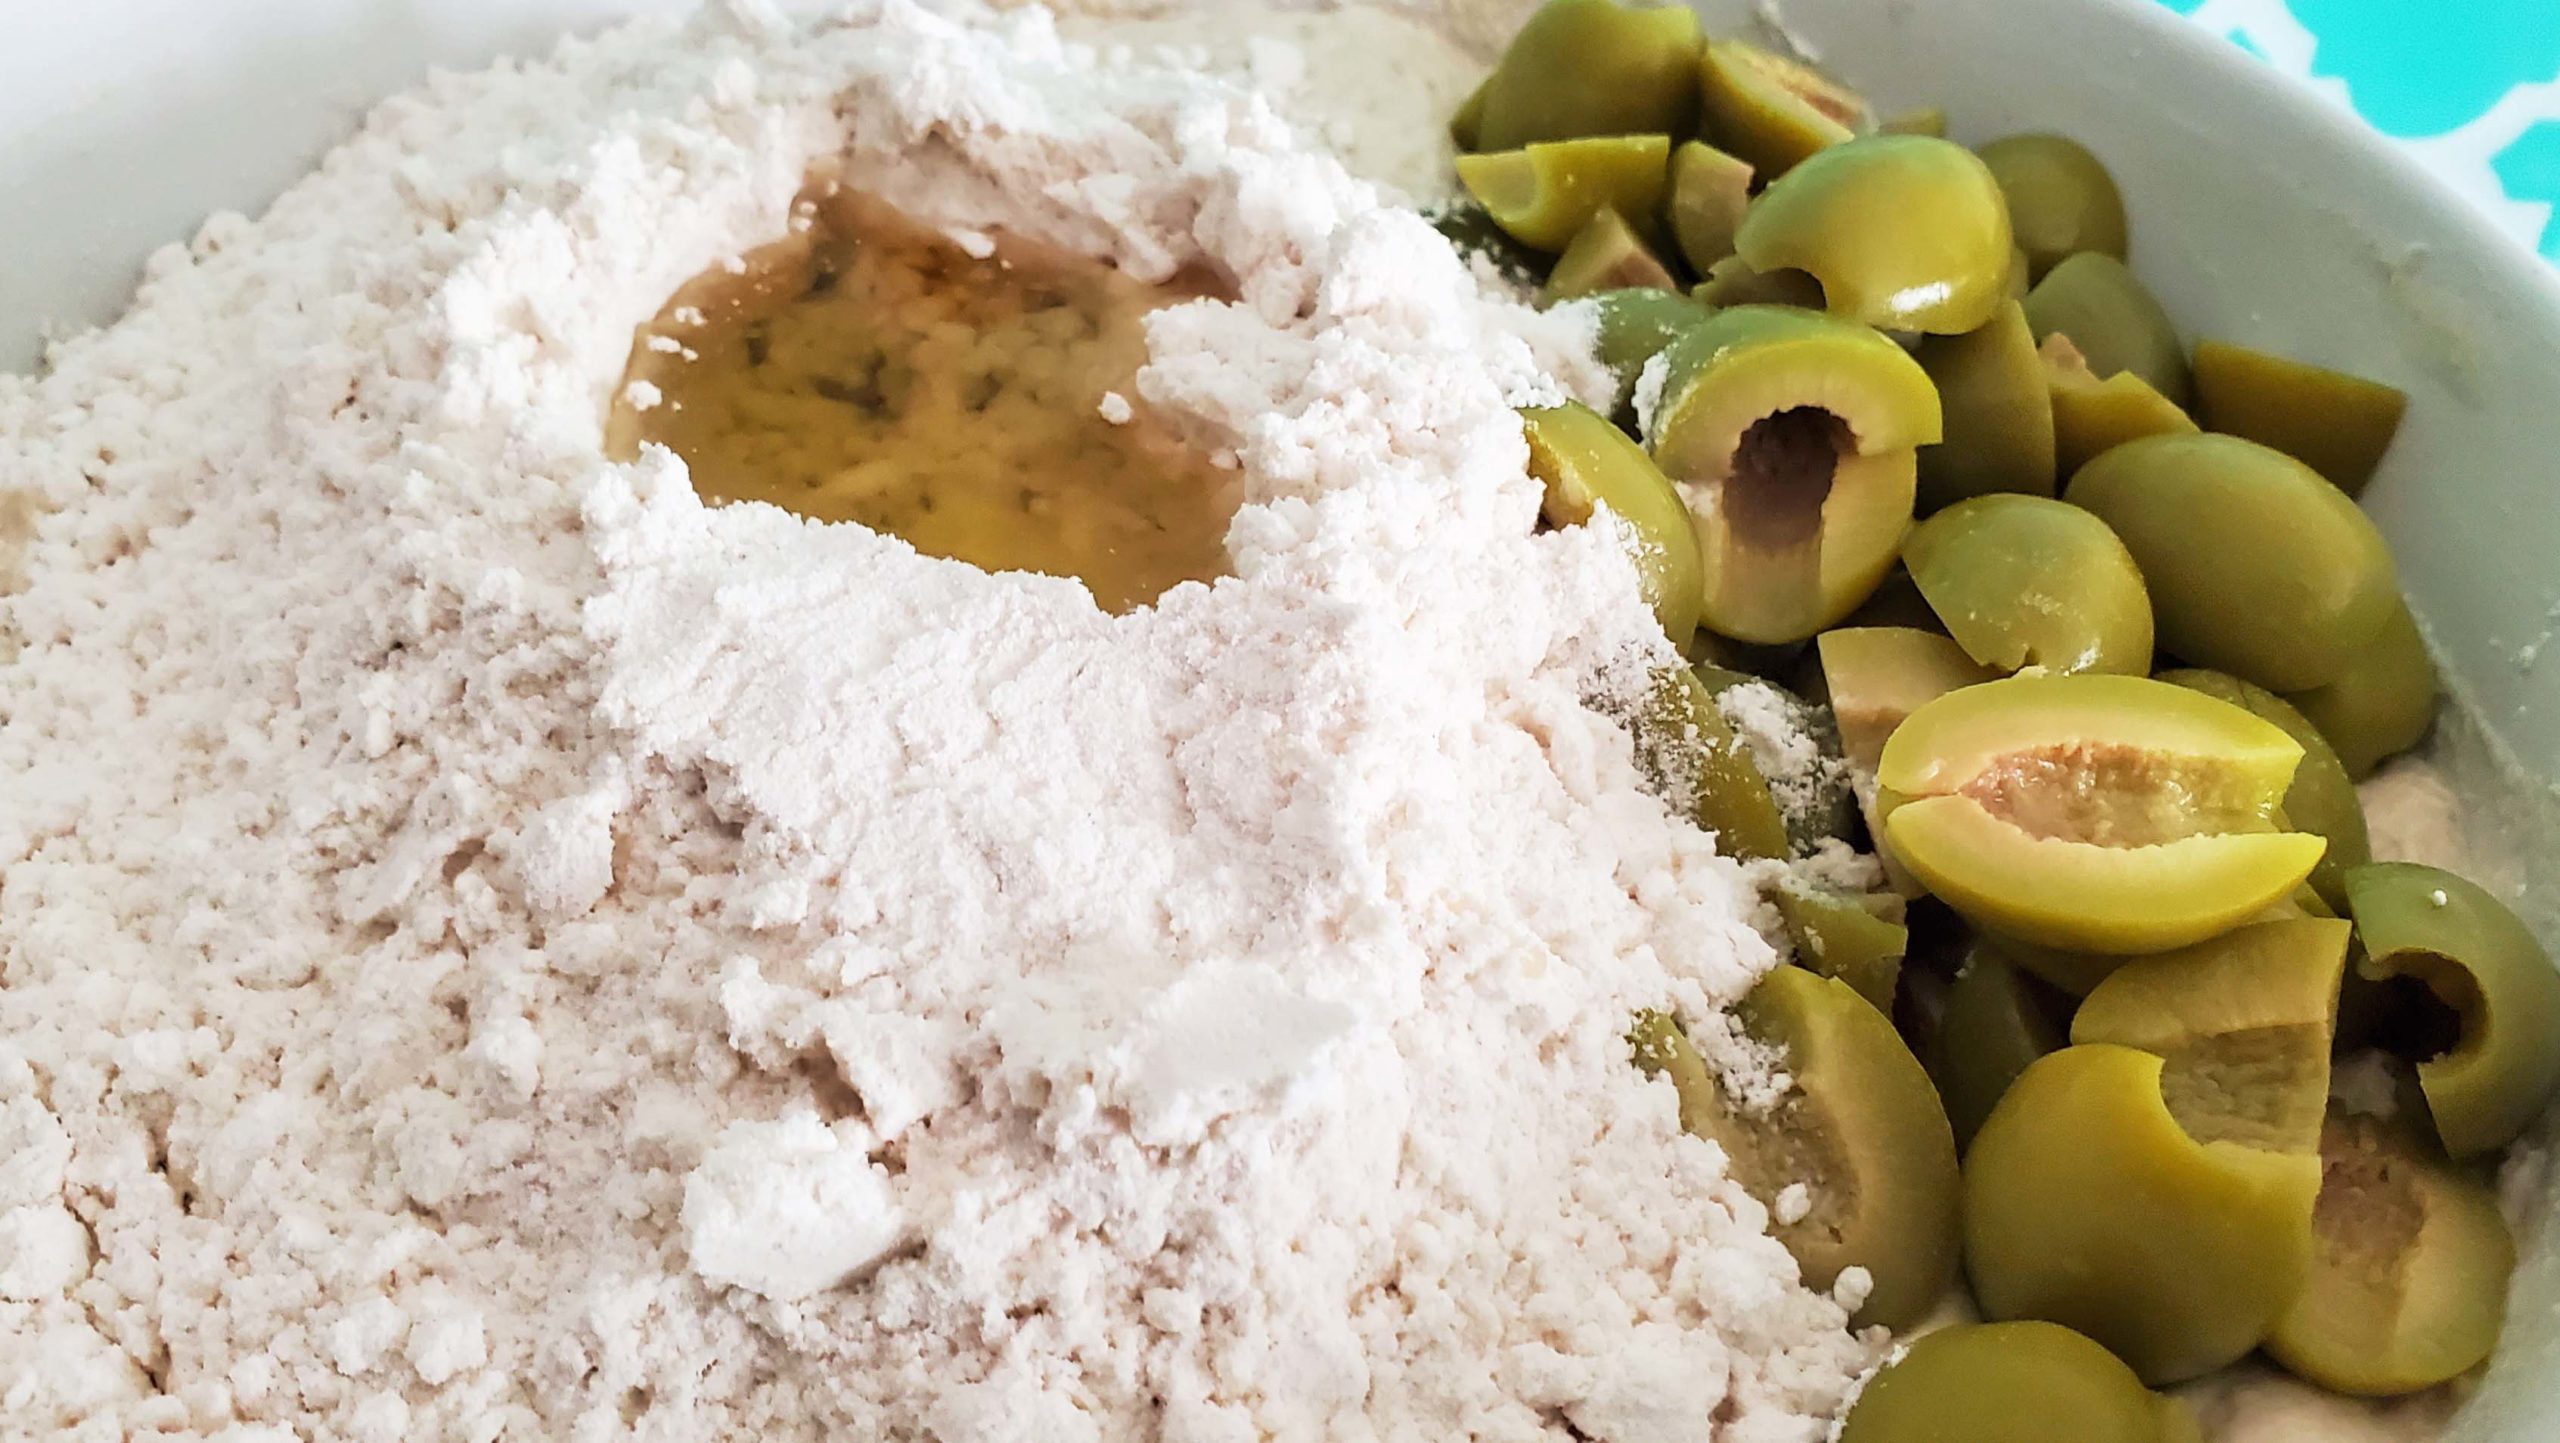
- Add the flour, yeast, olives, olive oil, salt, and Parmesan cheese to the bowl with the starter.
- Stir all together with a wooden spoon or mix with lightly oiled hands.
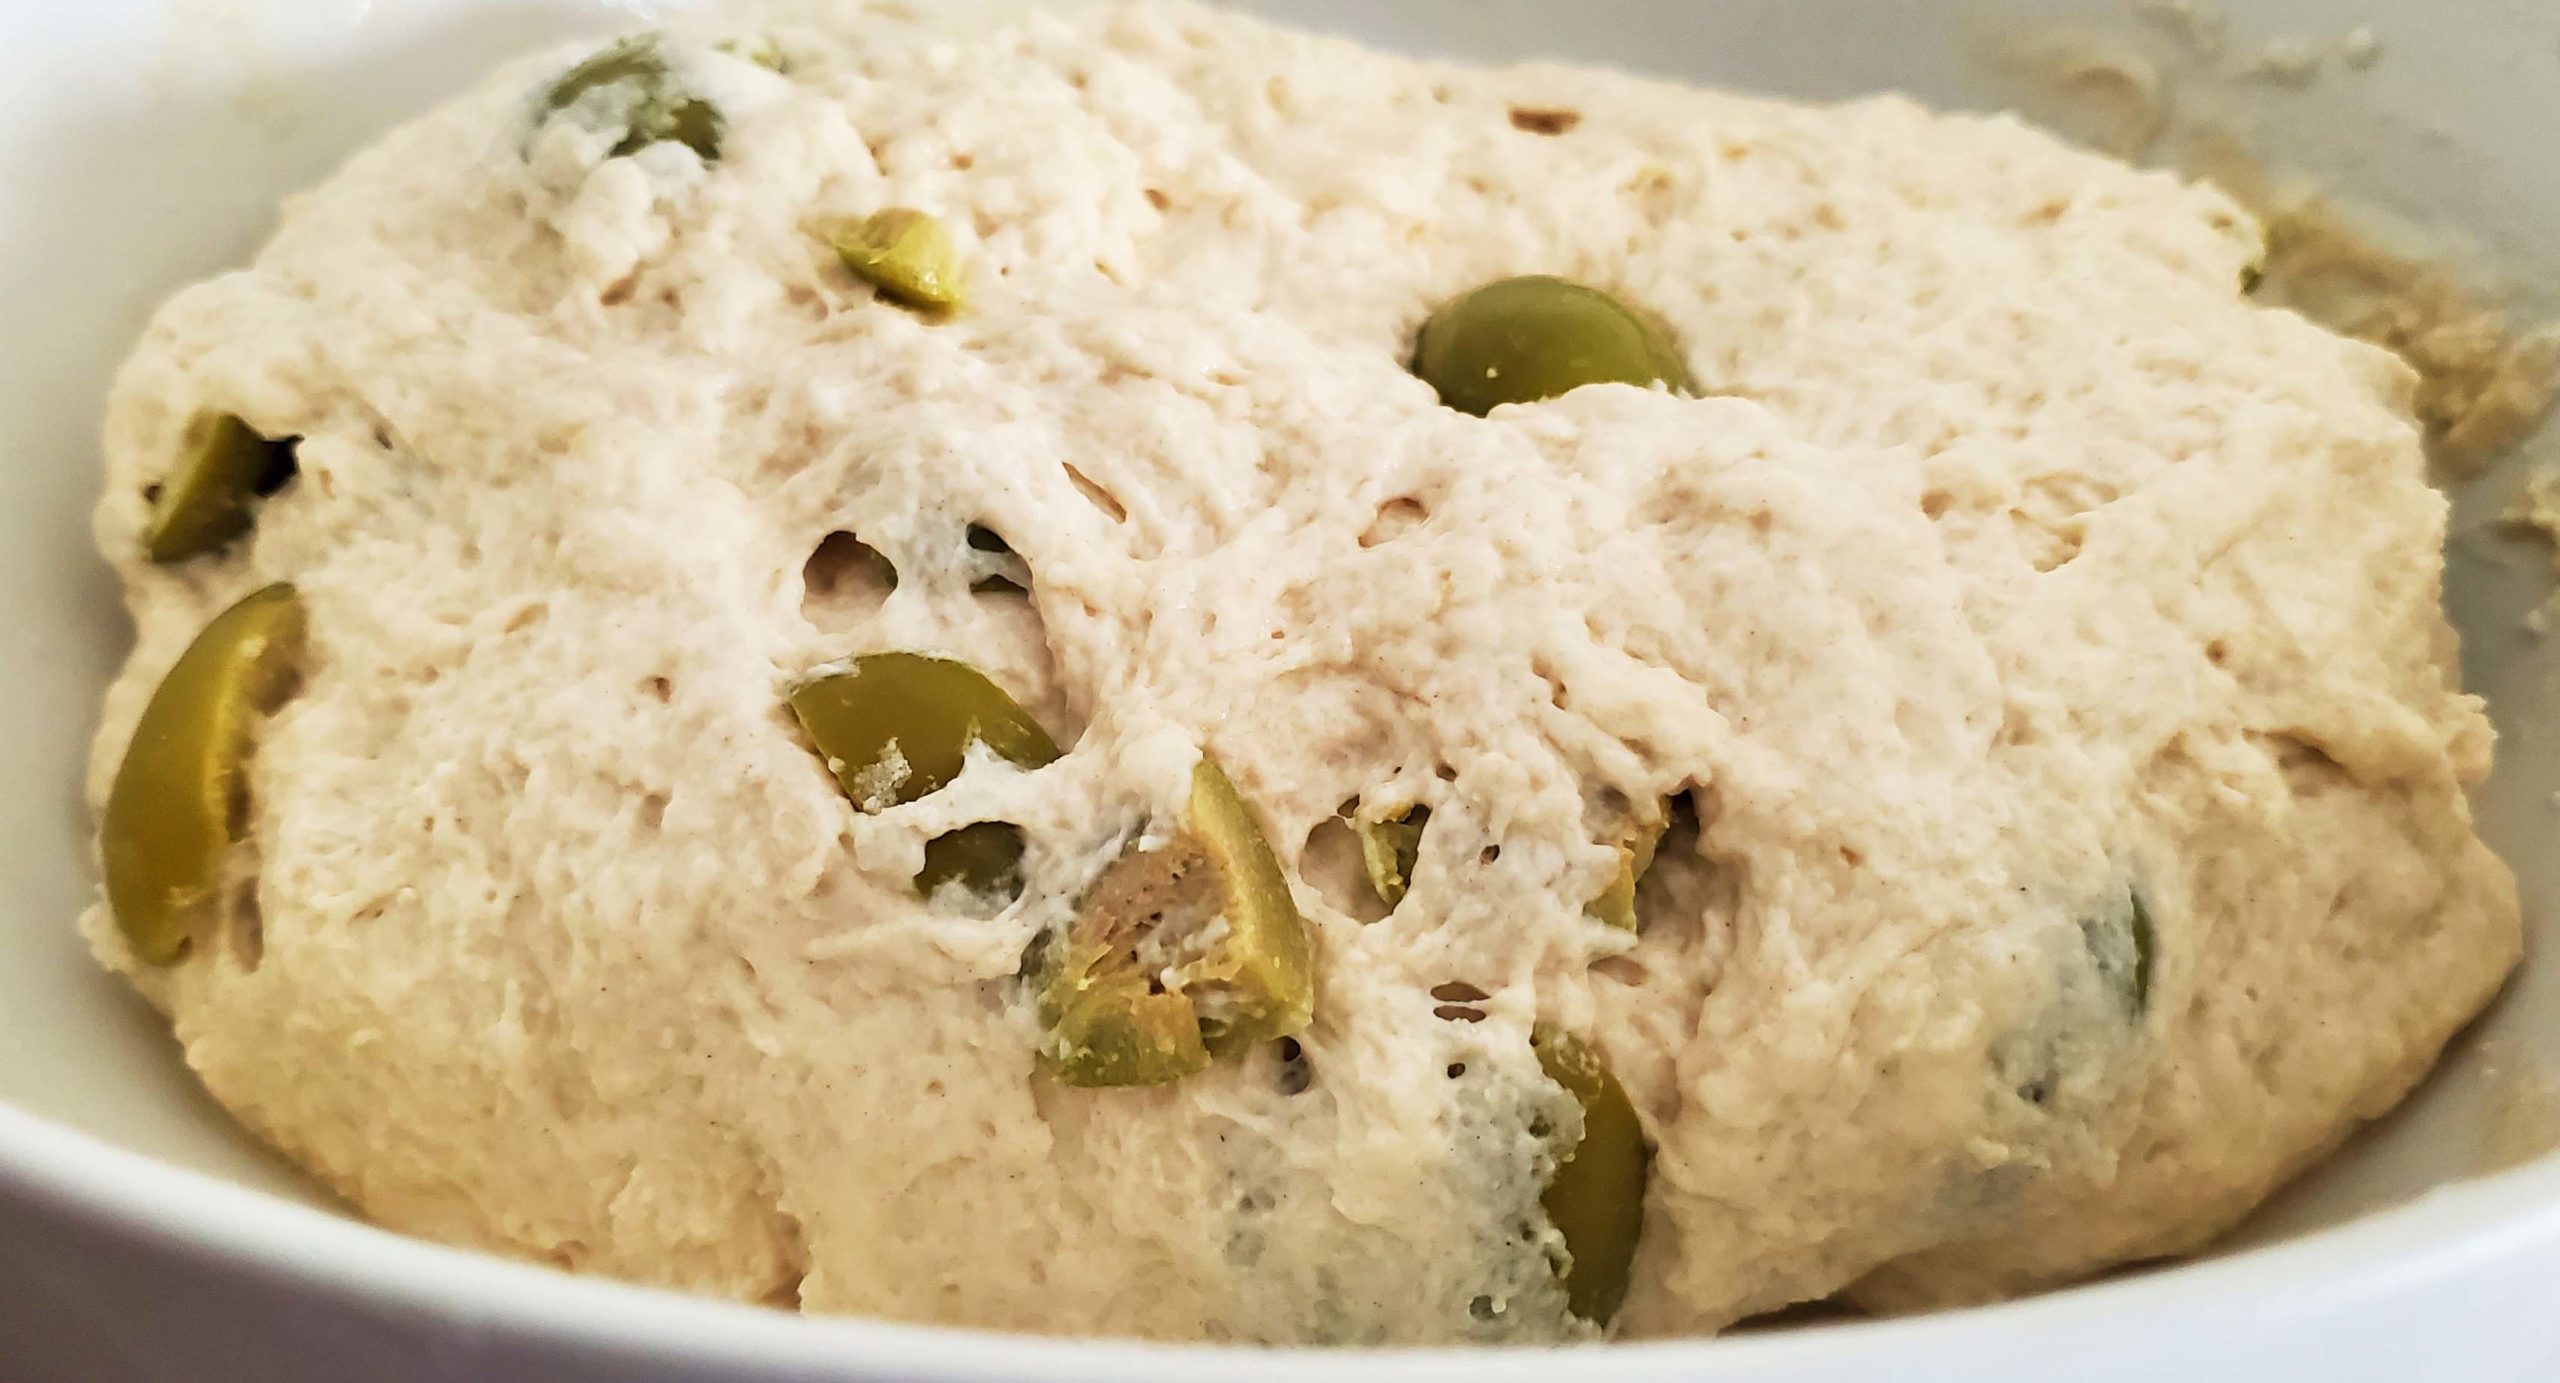
- Mix until all is well incorporated and the olives are uniformly distributed through the dough.
- This is meant to be a sticky dough. Add MINIMAL extra flour during this step.
- The ingredients are added to the starter.
- All is now incorporated and ready to rise for one hour.
Tip: Once all the ingredients are evenly mixed together and a rough dough is formed. STOP.
- Lightly oil a bowl and place it in the dough. Cover with a damp kitchen towel or plastic wrap.
- Place the bowl in a draft-free (slightly warm) place in your kitchen and let it rise for two hours.
Tip: I usually take the chill out of my oven by heating it to 100°F and then opening the door for 3-5 minutes before placing the dough in to rise.
Shaping and baking the bread
- Pre-heat your oven to 475°F
- Once the dough has risen for two hours turn it out onto a lightly floured work area.
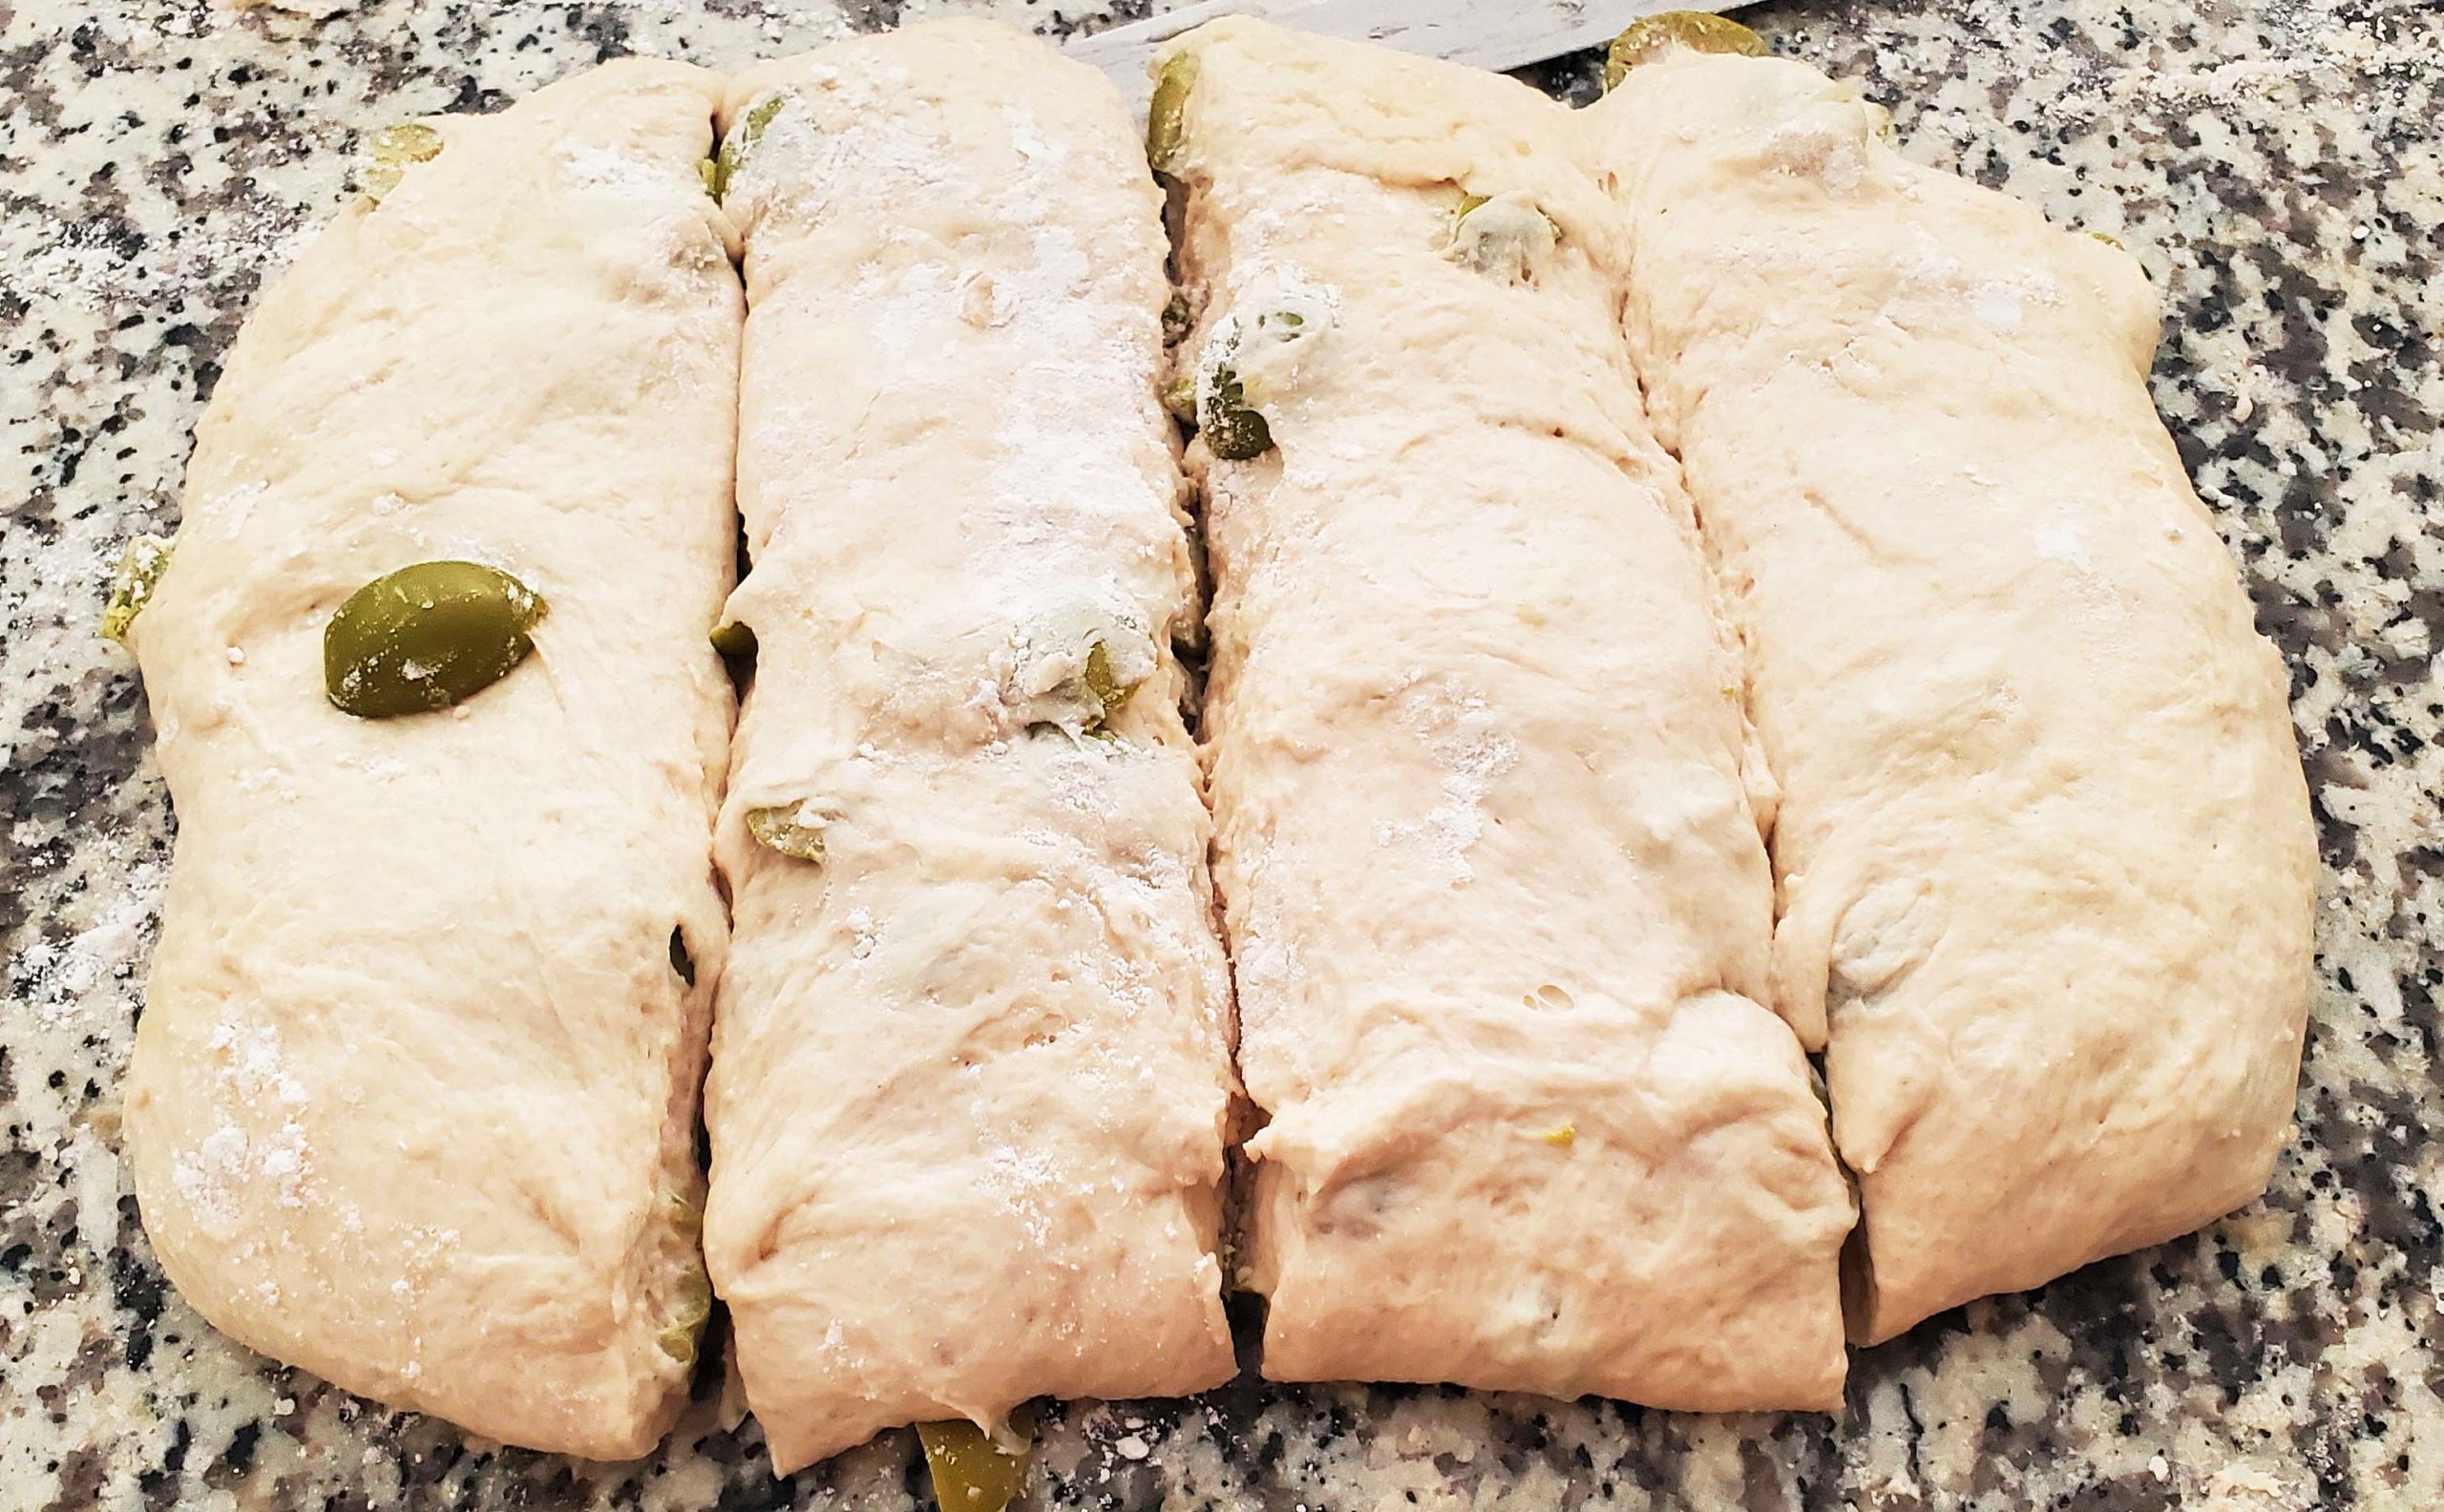
- Pat the dough into a uniform rectangular shape.
- Now, carefully divide the dough into four equal parts.
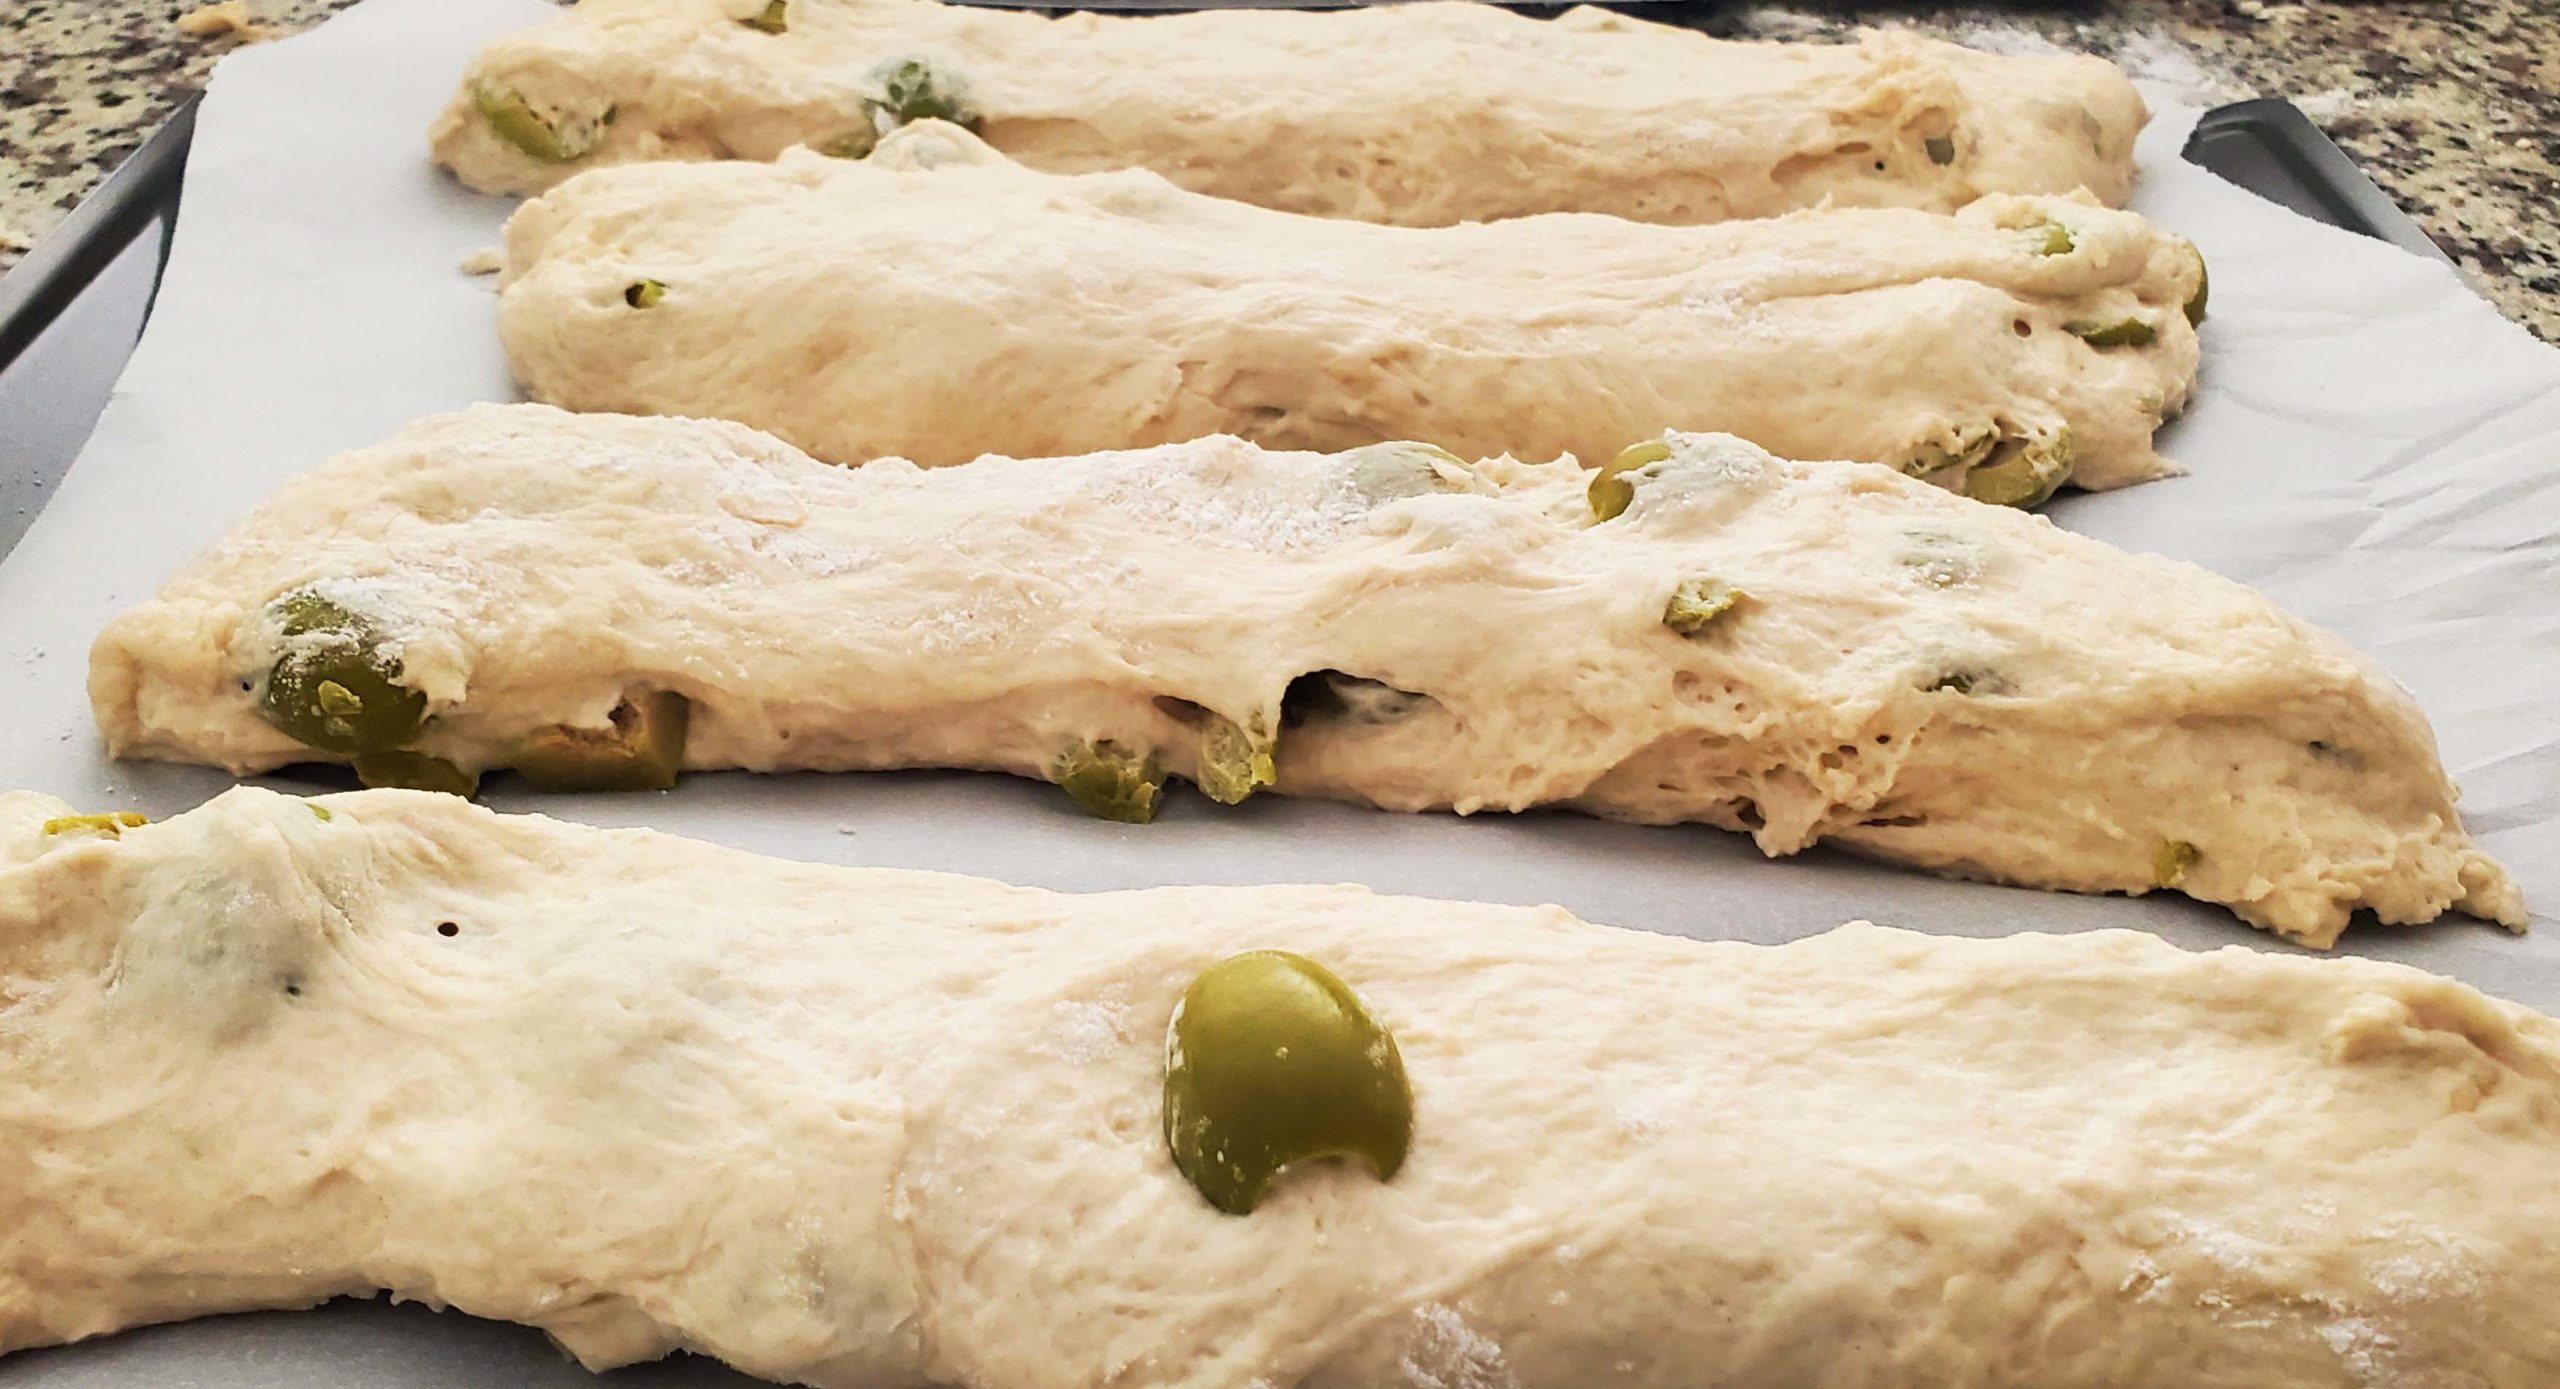
- Evenly place them on a baking paper-lined tray.
- Lightly cover them and let them rise for 30 minutes in a draft-free place in your kitchen.
Tip: Since your oven is heating I usually place the bread to now proof on the stovetop. If the stove top is hot from the oven heating up place two pots on your stove and put the tray of bread on top of them for 30 minutes.
- Divide the dough.
- Place the dough on a baking tray and proof them for 30 minutes before baking.
- Once the loaves have done their final proof lightly brush them with some extra virgin olive oil.
- Immediately place them in the oven to bake.
- Depending on your oven these should take about 30 minutes to bake. Definitely check them after 20 minutes. At this time you may need to rotate some loves or turn the tray around to evenly bake and color the loaves of bread.
Tip: These olive loaves of bread should be golden and even lightly charred is okay. Depending on your oven you may need to turn the loaves over so that the tops are touching the tray and the bottoms are up to help color the tops better. If you really want to go the extra mile. About three minutes before removing them from the oven turn on your overhead grill. Remove any bread that is already nicely colored and leave in the ones that need a little more color. They will BURN quickly if you don’t keep a keen eye on them. Open and quickly remove the loaves as they complete coloring on top. Now you’re really baking!
- While hot brush the loaves with a little more extra virgin olive oil and sprinkle them with coarse salt.
- Serve them immediately while piping hot!


